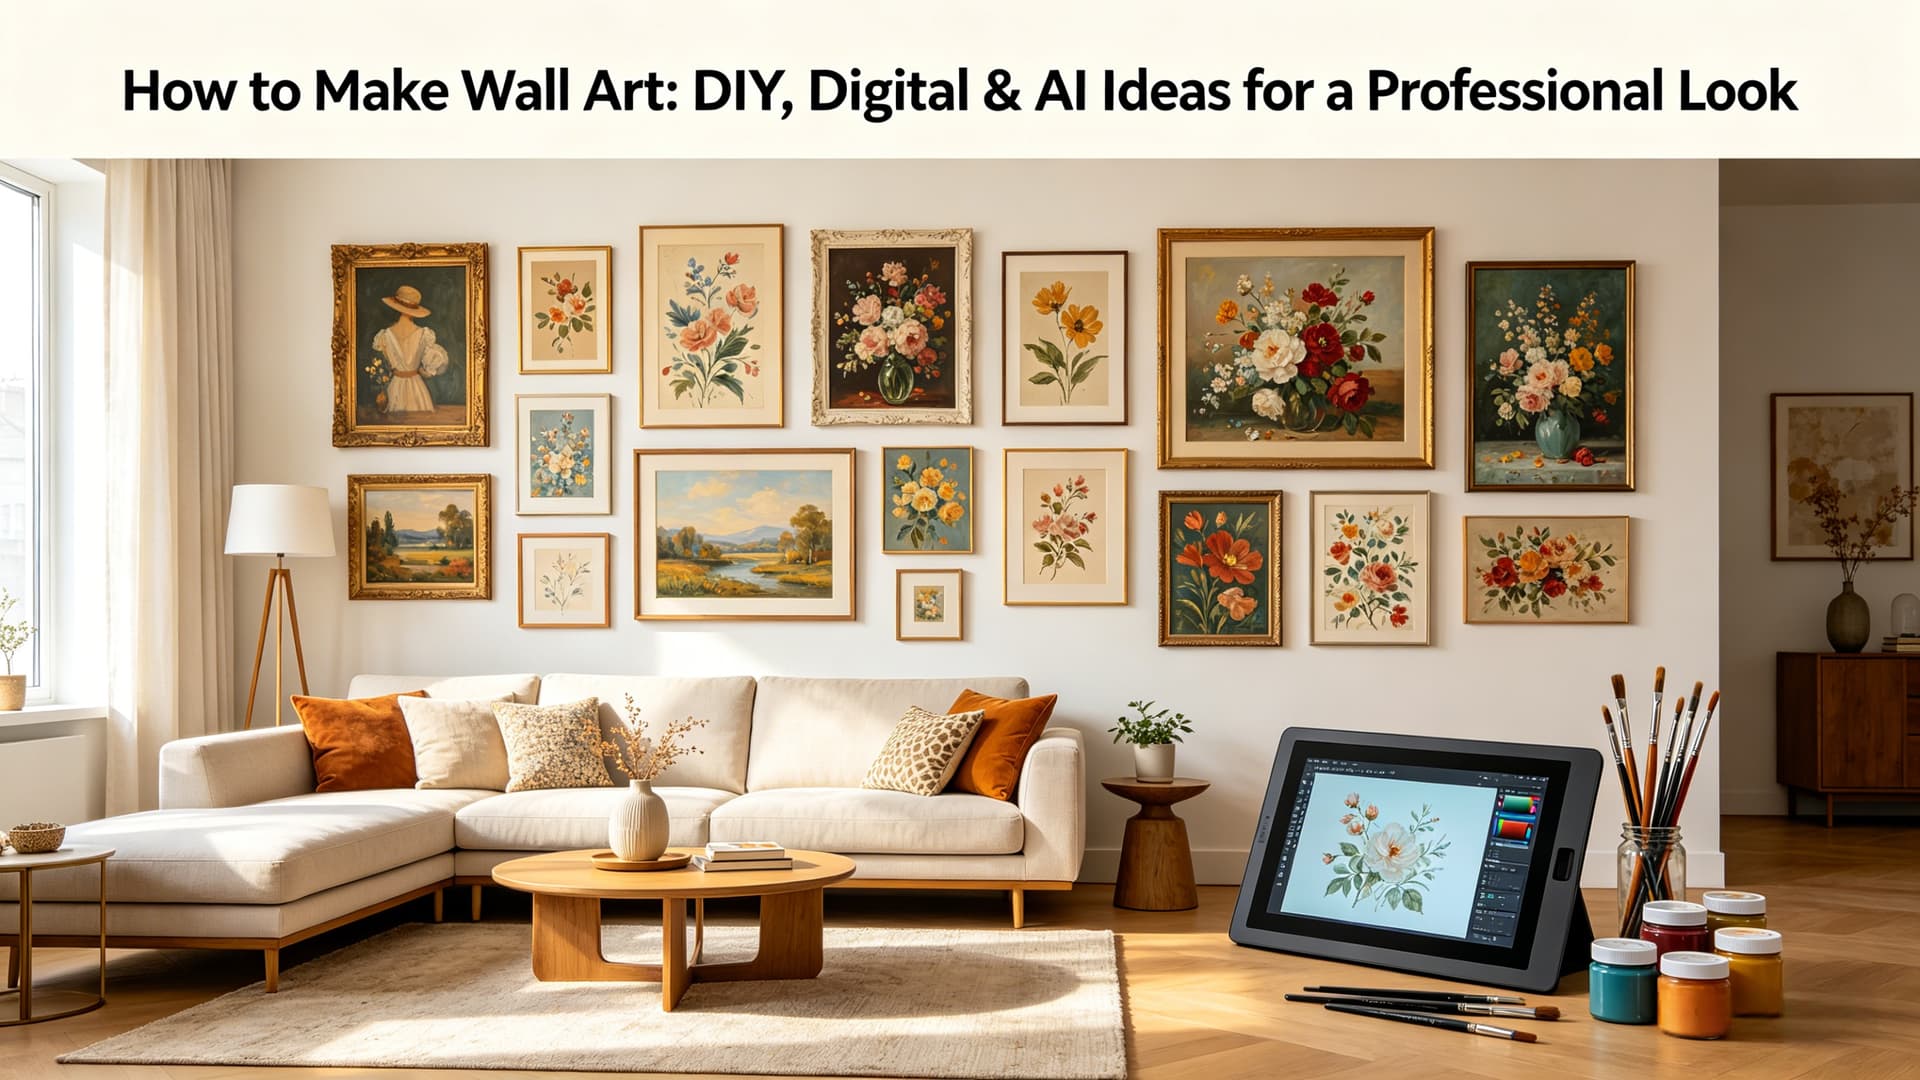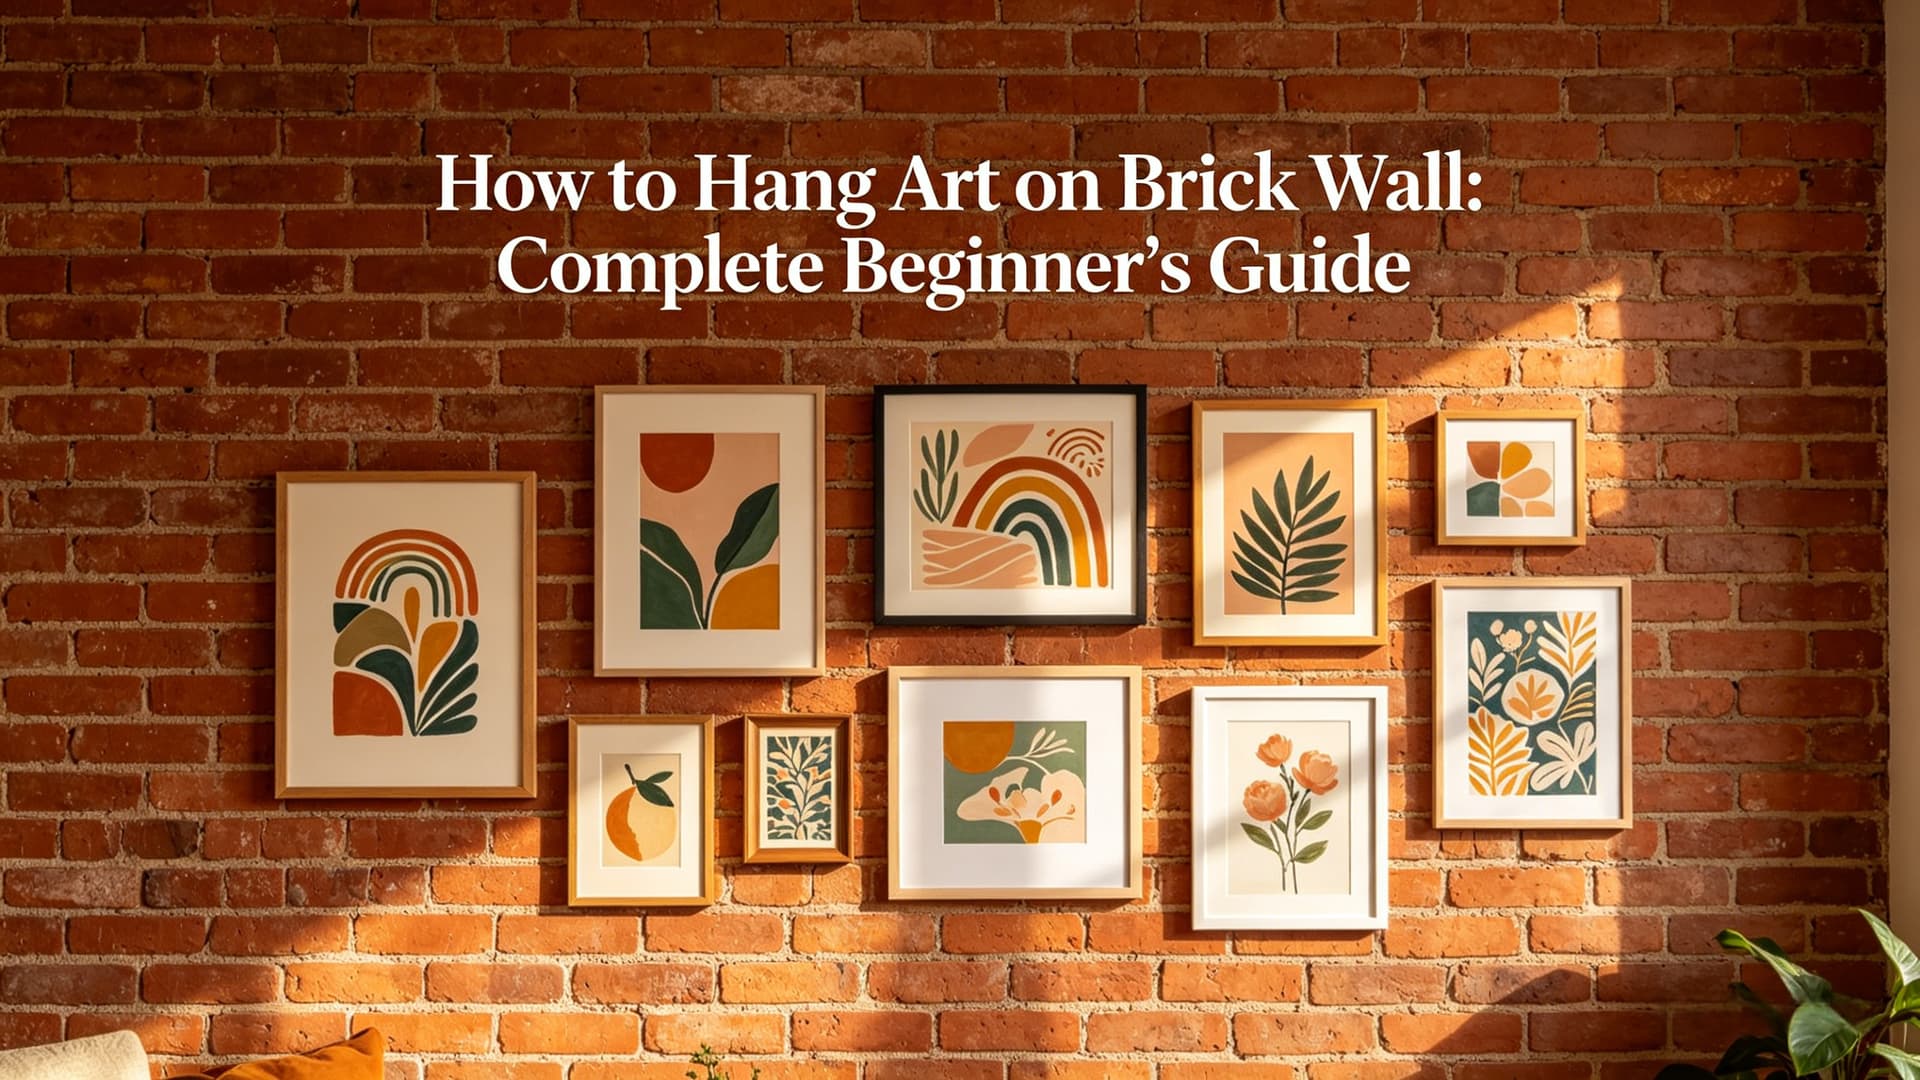
You finally found the perfect piece of art… but the moment you look at your plaster wall, you hesitate.
Will it crack? Will the frame fall? Will you end up making permanent damage?
If you’ve ever tried hanging anything on plaster, you already know—it’s not the same as drywall. What works on modern walls can easily fail (or cause damage) here.
This guide walks you through how to best put up art on plaster walls safely, based on real-world conditions like weight, tools, and wall structure—so you can hang your art confidently without ruining your wall.
Quick Answer
The best way to put up art on plaster walls is to choose the method based on weight. Lightweight pieces can use adhesive hooks, medium-weight art works best with picture hooks, and heavy frames require wall anchors or screws into studs to prevent cracks or damage.
Why Plaster Walls Are Harder to Hang Art On
Plaster vs Drywall — What’s the Difference?
Plaster walls are typically made from multiple layers over wooden lath, making them denser but also more brittle than drywall. Unlike drywall, which flexes slightly, plaster can crack under pressure or vibration.
Why Plaster Cracks Easily When Drilling
Drilling into plaster creates vibration. If you use the wrong drill bit or too much force, the surface can chip or crack around the hole. Once that happens, repairs are more complicated than with drywall.
Why Regular Nails Often Don’t Work
Standard nails can loosen over time because plaster doesn’t grip them as well. This increases the risk of your art falling, especially if it’s even slightly heavy.
Best Way to Put Up Art on Plaster Walls (Based on Weight)
The most reliable approach is to match your hanging method to the weight of your artwork.
Lightweight Art (Under 5 lbs)
For small frames or prints:
-
Adhesive hooks
-
Command strips
These are easy to use and don’t require drilling. However, they work best on smooth, clean surfaces and may fail on textured or dusty plaster.
Medium Weight Art (5–20 lbs)
For standard framed art:
-
Picture hooks
-
Angled nails
Picture hooks distribute weight better and reduce stress on the plaster. Hammer nails in at a slight downward angle to improve hold.
Heavy Art (20+ lbs)
For mirrors or large frames:
-
Wall anchors
-
Screws into studs
This is the safest option. Anchors help distribute weight inside the wall, while studs provide maximum support. Skipping this step is one of the biggest reasons plaster walls crack.
Tools You Need to Hang Art on Plaster Walls
Using the right tools makes a huge difference:
-
Drill with masonry bit – reduces cracking when drilling
-
Wall anchors – essential for heavier items
-
Stud finder – helps locate solid support
-
Level – keeps artwork straight
-
Measuring tape – ensures proper placement
Each tool plays a role in minimizing damage and improving stability.
Step-by-Step: How to Hang Art on Plaster Walls Safely
Step 1 — Find the Right Spot
Avoid areas with visible cracks or weak spots. Measure carefully and consider eye-level placement.
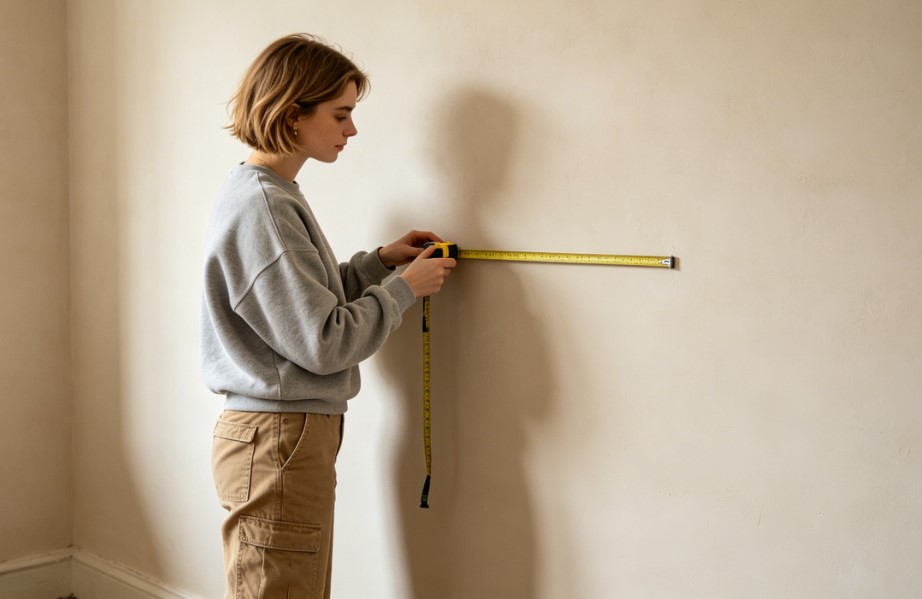
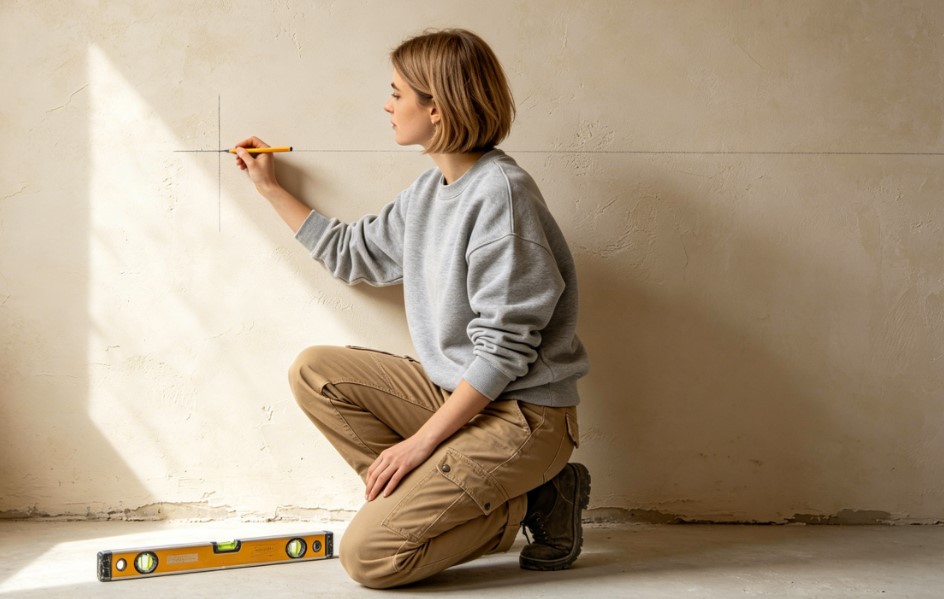
Step 2 — Mark and Prepare the Wall
Use a pencil to mark where your hook or anchor will go. Double-check alignment with a level.
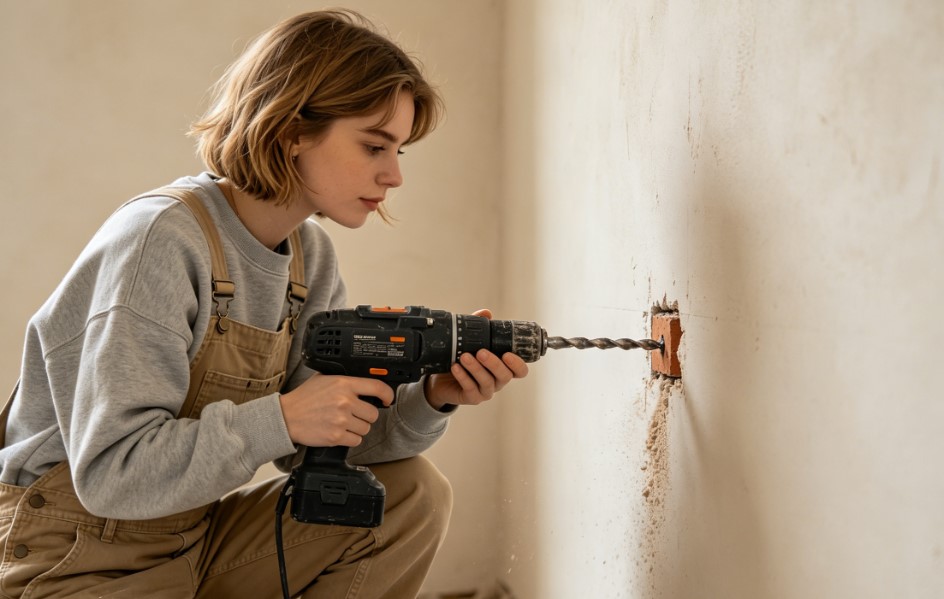
Step 3 — Drill Carefully (If Needed)
If you’re installing anchors:
-
Drill slowly
-
Use a masonry bit
-
Avoid applying too much pressure
This reduces vibration and prevents cracking.
Step 4 — Install Anchors or Hooks
Choose the right hardware based on weight. Make sure everything is secure before hanging your artwork.

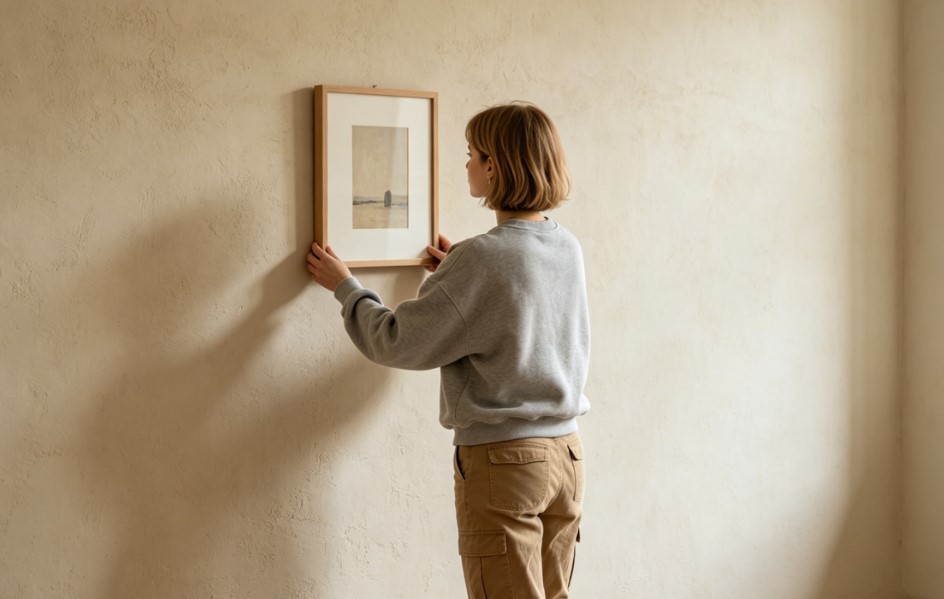
Step 5 — Hang and Adjust
Place your art on the hook or screw and adjust until level. Step back and visually confirm placement.
How to Hang Art on Plaster Walls Without Nails
If you want to avoid drilling entirely, you still have options:
-
Adhesive hooks
-
Command strips
These work well for lightweight pieces, but keep in mind:
-
They may not hold on uneven plaster
-
Temperature and humidity can affect adhesion
Use them for temporary or low-risk setups.
Common Mistakes to Avoid When Hanging Art on Plaster Walls
Even small mistakes can lead to damage:
-
Drilling too fast → causes cracks
-
Using drywall methods → plaster behaves differently
-
Skipping anchors → leads to weak support
-
Hanging heavy art without proper hardware → high risk of failure
Most problems come from treating plaster like drywall—it’s not.
Pro Tip: Plan Your Layout Before You Drill into Plaster Walls
One of the biggest mistakes people make is drilling first and planning later.
With plaster walls, that’s risky. Once you drill, mistakes are hard to fix.
A better approach is to preview your layout before making any holes. You can sketch it on paper, tape outlines to the wall, or use a digital tool like Wallnora to visualize your gallery wall.
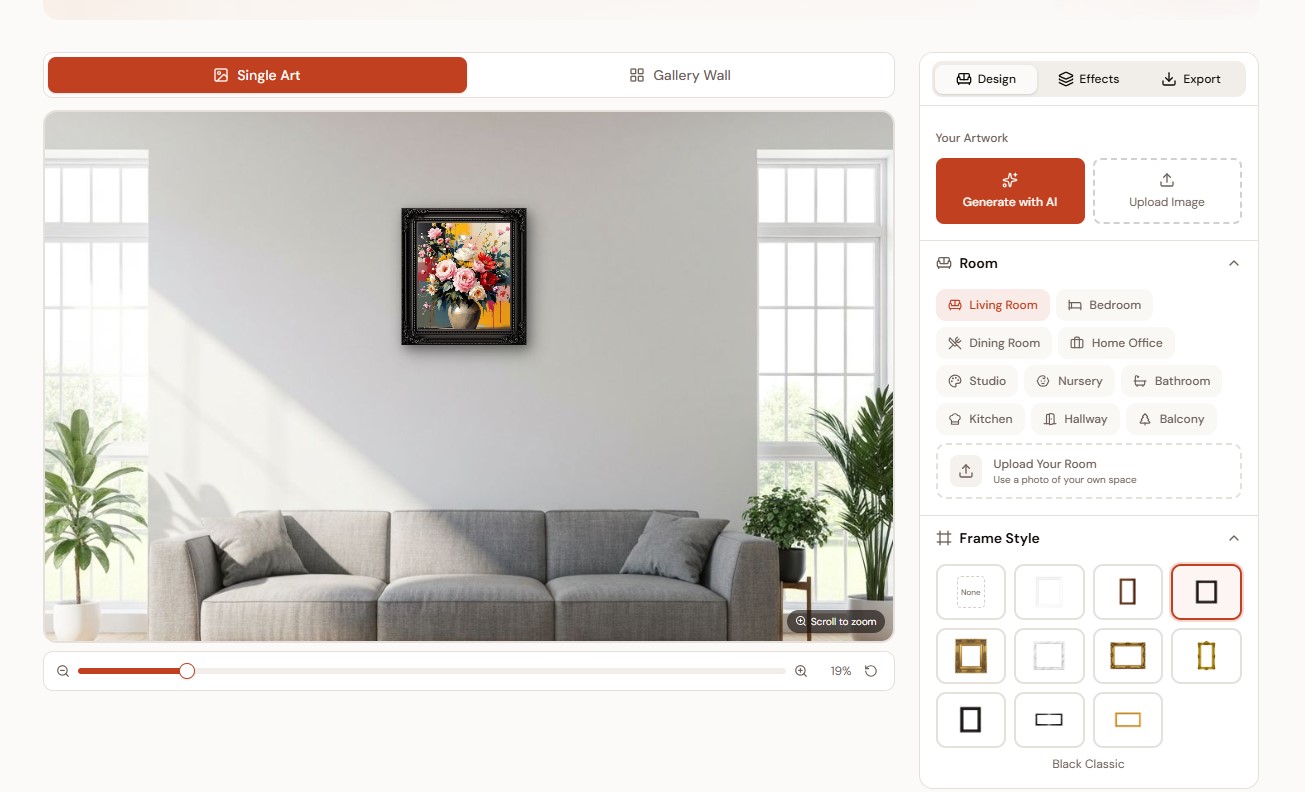
-
Get spacing right
-
Avoid unnecessary holes
-
Reduce the chance of cracking
When working with plaster, precision matters more—and planning ahead saves you from costly errors.
FAQs About Hanging Art on Plaster Walls
Can you hang pictures on plaster walls without drilling?
Yes, but only for lightweight items. Adhesive hooks can work, though they may not hold well on all plaster surfaces.
What is the best anchor for plaster walls?
Plastic expansion anchors or metal anchors designed for solid walls are typically the most reliable.
How much weight can plaster walls hold?
It depends on the method used. Anchors and studs can support significant weight, while nails alone are limited.
Will drilling into plaster crack it?
It can if done incorrectly. Using the right tools and drilling slowly reduces the risk.
Is it better to use nails or screws for plaster walls?
Screws with anchors are generally safer for heavier items, while nails may work for lighter pieces.
Final Thoughts: Hanging Art on Plaster Walls the Right Way
Hanging art on plaster walls isn’t difficult—but it does require the right approach.
The key is simple:
-
Match the method to the weight
-
Use proper tools
-
Avoid rushing the process
And most importantly, plan before you drill.
Because with plaster walls, getting it right the first time makes all the difference.