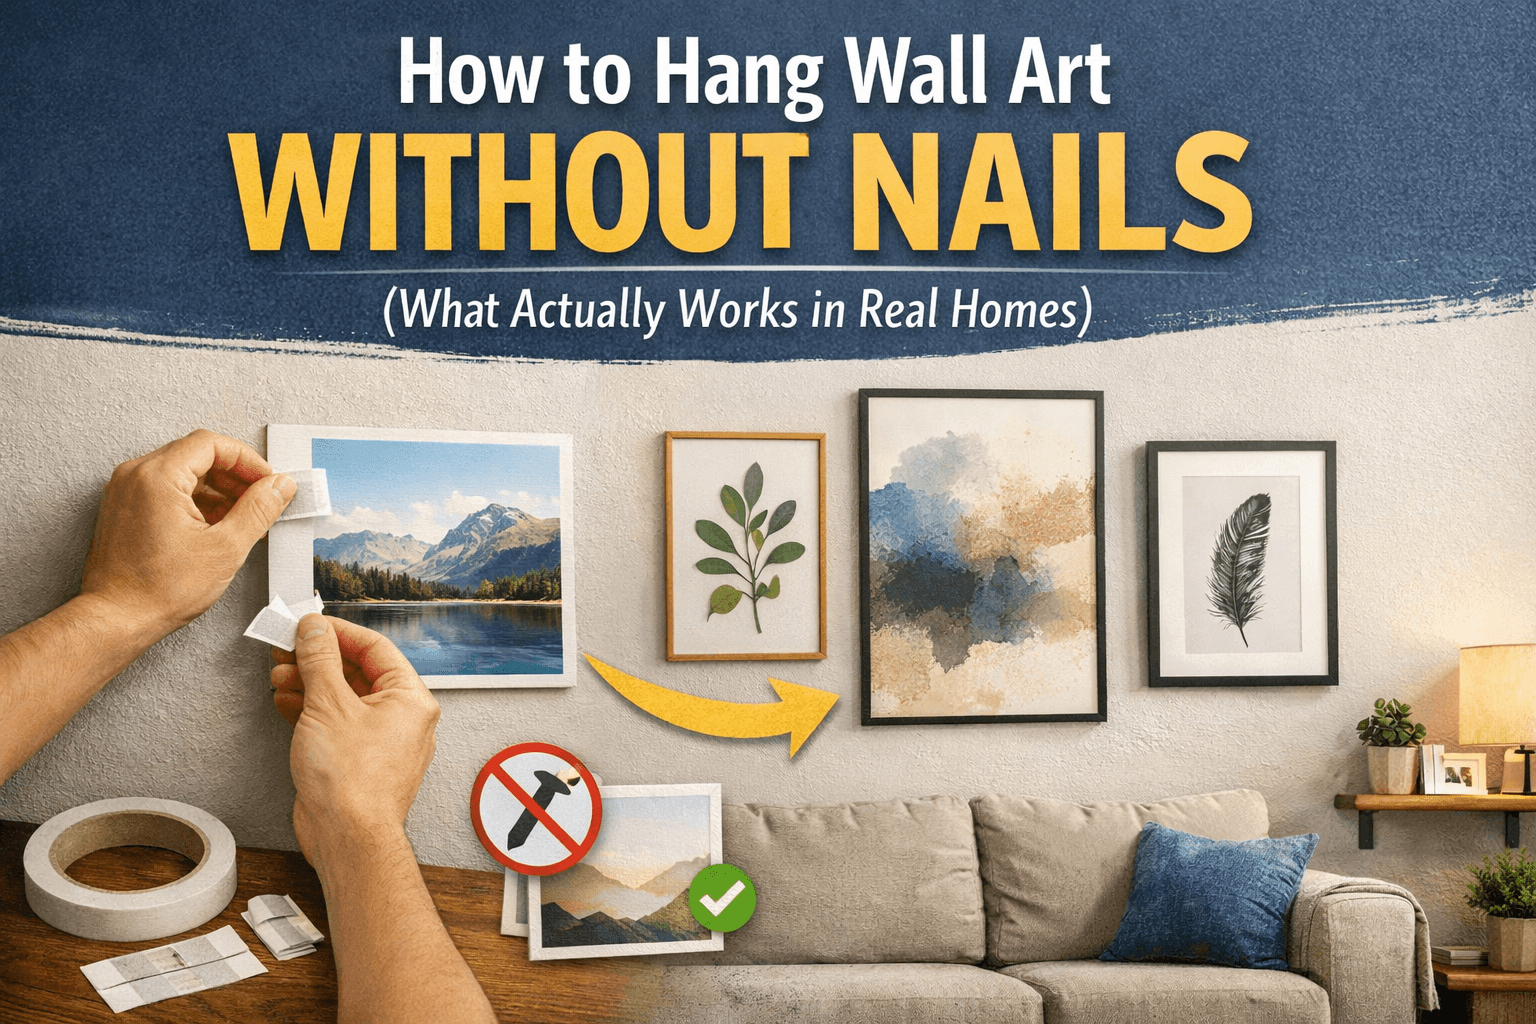
I used to think hanging wall art was simple—until I tried to do it without nails.
The first time, I spent an hour carefully sticking up a framed print with adhesive strips. It looked great… for about two days. Then one morning, I found it on the floor.
No damage to the wall, sure. But also not exactly the result I was going for.
If you’ve ever been there—renting, dealing with concrete walls, or just not wanting to commit to holes—you already know the problem isn’t just how to hang art.
It’s figuring out what actually works in real life.
The truth: most “no-nail” advice is incomplete
If you search this topic, you’ll see the same suggestions everywhere:
-
Command strips
-
Adhesive hooks
-
Double-sided tape
And yes, they do work. Sometimes.
But what those guides don’t tell you is that success depends on a few things people rarely mention:
-
The weight of your frame (most people underestimate this)
-
The texture of your wall (painted vs. rough vs. humid environments)
-
And honestly, how patient you are during installation
Skip any of these, and things start falling—literally.
What actually works (from trial and error)
After a lot of experimenting (and a few fallen frames), here’s what I’ve found to be reliable.
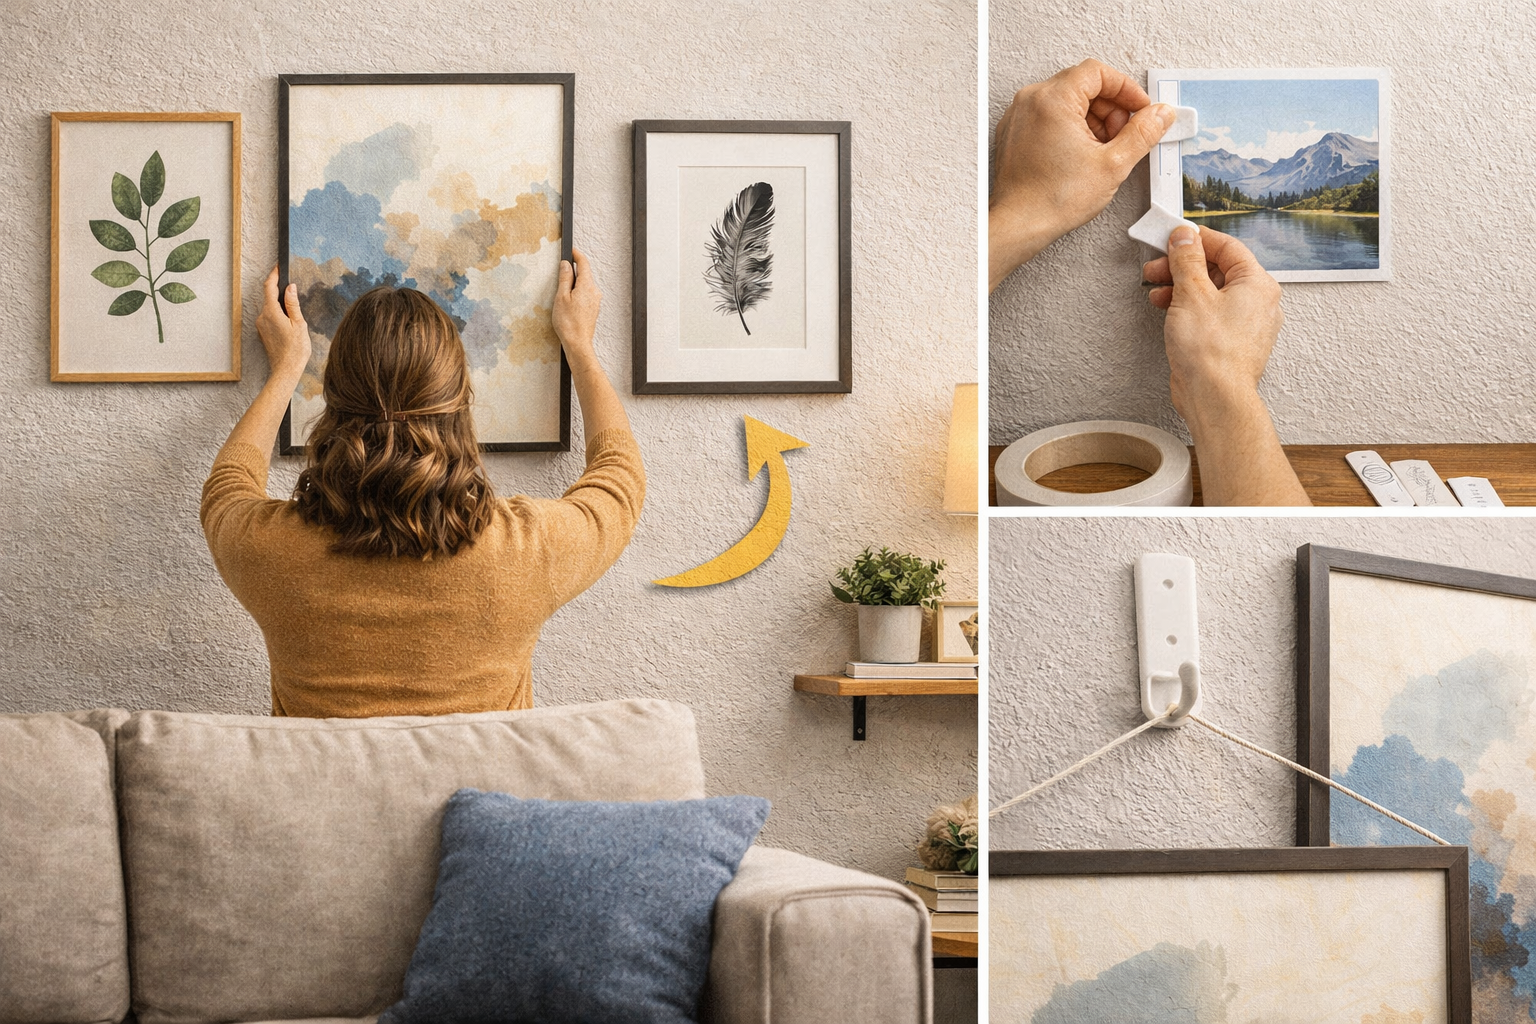
If you’re hanging lightweight prints
Go with adhesive strips or Velcro-style mounts—but use more than you think you need.
Most failures happen because people try to “just use two.” In reality, four or even six strips create a much more stable hold.
Also, press and hold longer than the instructions say. It matters.
If you’re working with framed art
This is where things get tricky.
Frames add weight, and more importantly, they create uneven pressure points. That’s why hooks often fail here.
Your safest option:
-
Use heavy-duty command strips rated above your frame weight
-
Distribute them across all four corners
And don’t hang it immediately—give the adhesive time to bond properly.
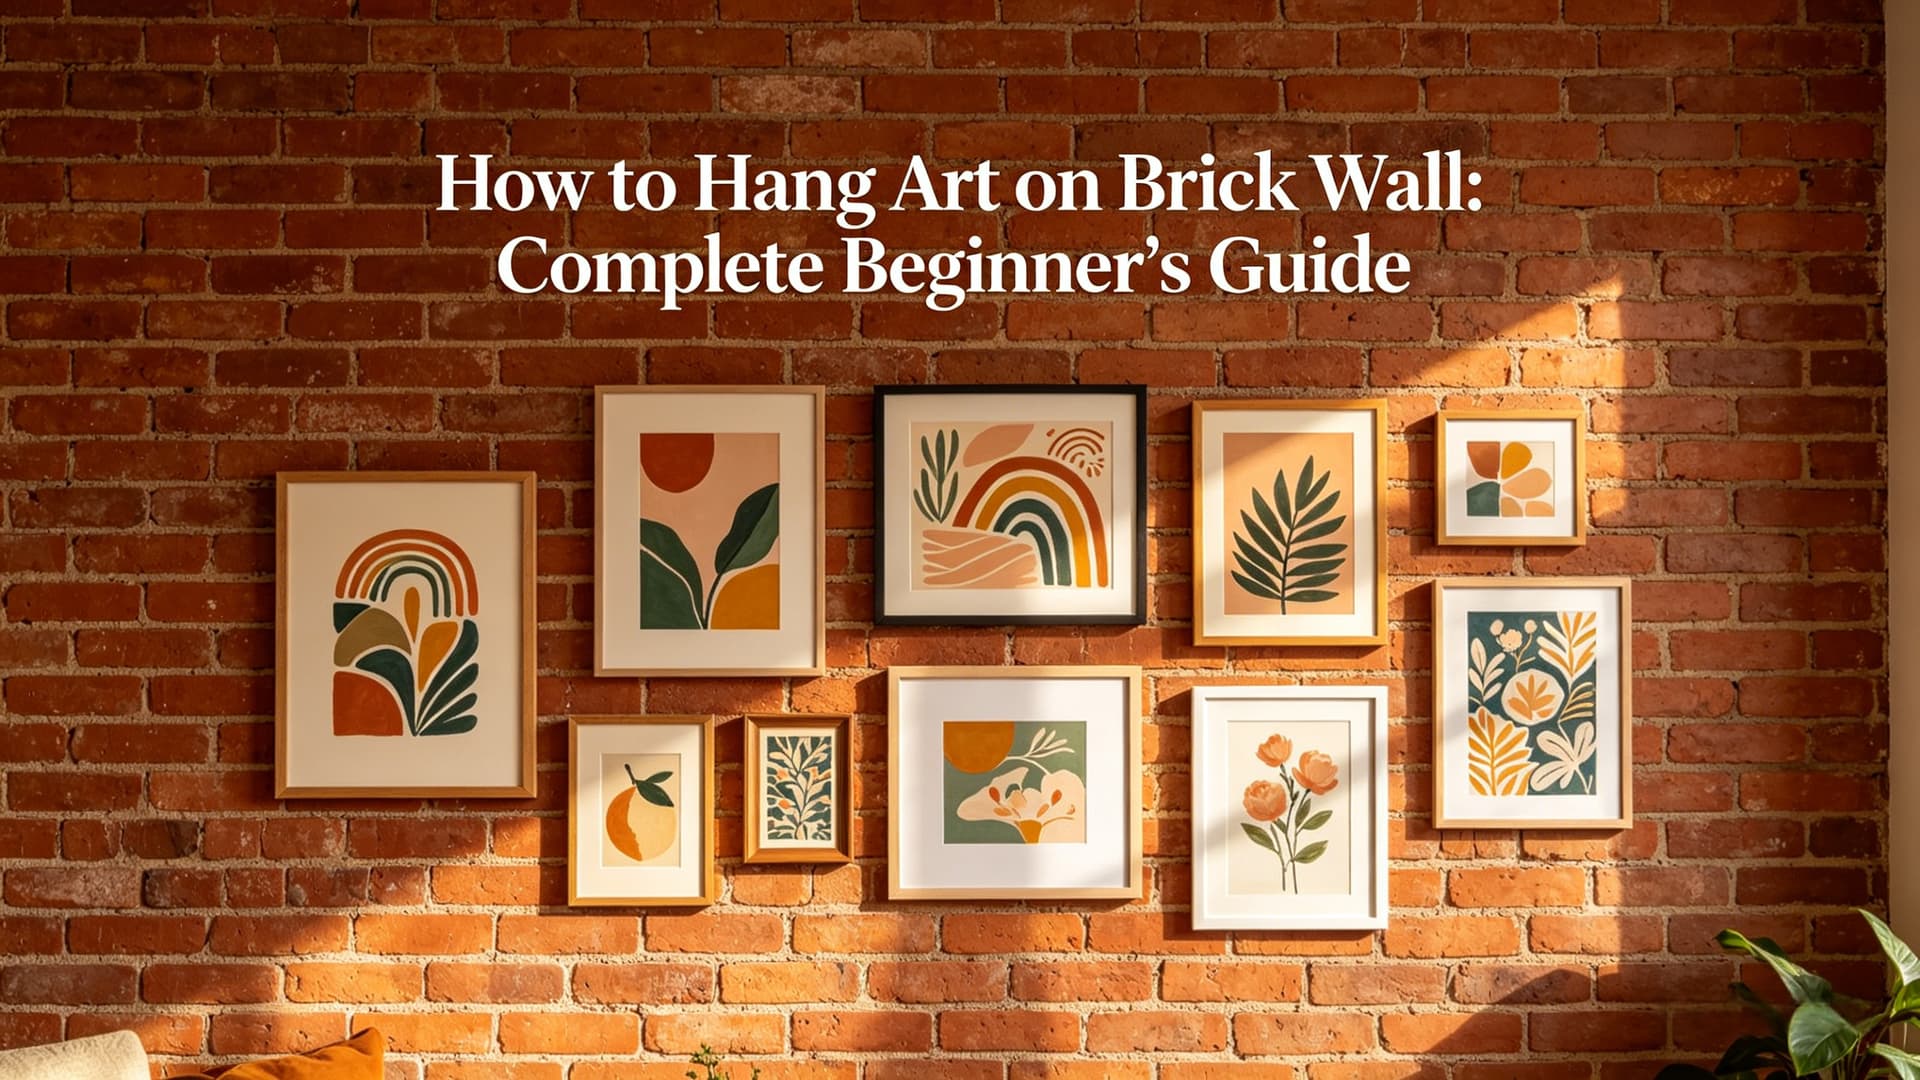
If your walls are rough (brick, concrete, textured paint)
This is where most “no nail” solutions struggle.
Adhesives don’t stick well to uneven surfaces, and even if they do, they rarely last.
In these cases, you have two realistic options:
-
Lean the artwork (honestly underrated)
-
Or use specialized mounting systems designed for rough walls
Trying to force adhesive solutions here usually leads to frustration.
The part nobody talks about: placement matters more than method
Here’s something I didn’t realize at first:
Even when the art stays up, it can still look wrong.
Too high. Too small. Slightly off-center.
And once everything is stuck to the wall, adjusting it becomes a hassle—you’re peeling, reapplying, hoping the adhesive still works.
That’s where most people quietly give up and just “live with it.”
What helped me avoid that completely
At some point, I stopped guessing.
Instead of putting things up and hoping they looked right, I started planning the layout first—visually.
There are tools now (like Wallnora) that let you:
-
Drop your artwork into a wall scene
-
Try different sizes and layouts
-
Add frames and spacing
-
And see the whole setup before touching your actual wall
It sounds simple, but it changes everything.
Because once you know exactly where each piece should go, the hanging part becomes mechanical.
No trial and error. No second-guessing.
A simpler way to approach it
If you’re doing this from scratch, here’s what I’d suggest:
Start with the look, not the hardware.
Figure out:
-
What size feels right
-
How much space you want between pieces
-
Whether it works as a single statement piece or a small gallery
Then worry about how to hang it.
Because the method doesn’t matter much if the result doesn’t feel right.
A few small things that make a big difference
-
Keep the center of your artwork roughly at eye level
-
Don’t push everything too high (this is the most common mistake)
-
Give your art some breathing room—walls don’t need to be filled edge to edge
-
If something feels “off,” it usually is
Final thought
Hanging wall art without nails is absolutely doable.
But if you’ve ever had something fall off the wall—or just didn’t love how it looked after—it’s probably not because you chose the wrong hook.
It’s because you didn’t get to see the final result before committing.
Once you fix that part, everything else gets a lot easier.