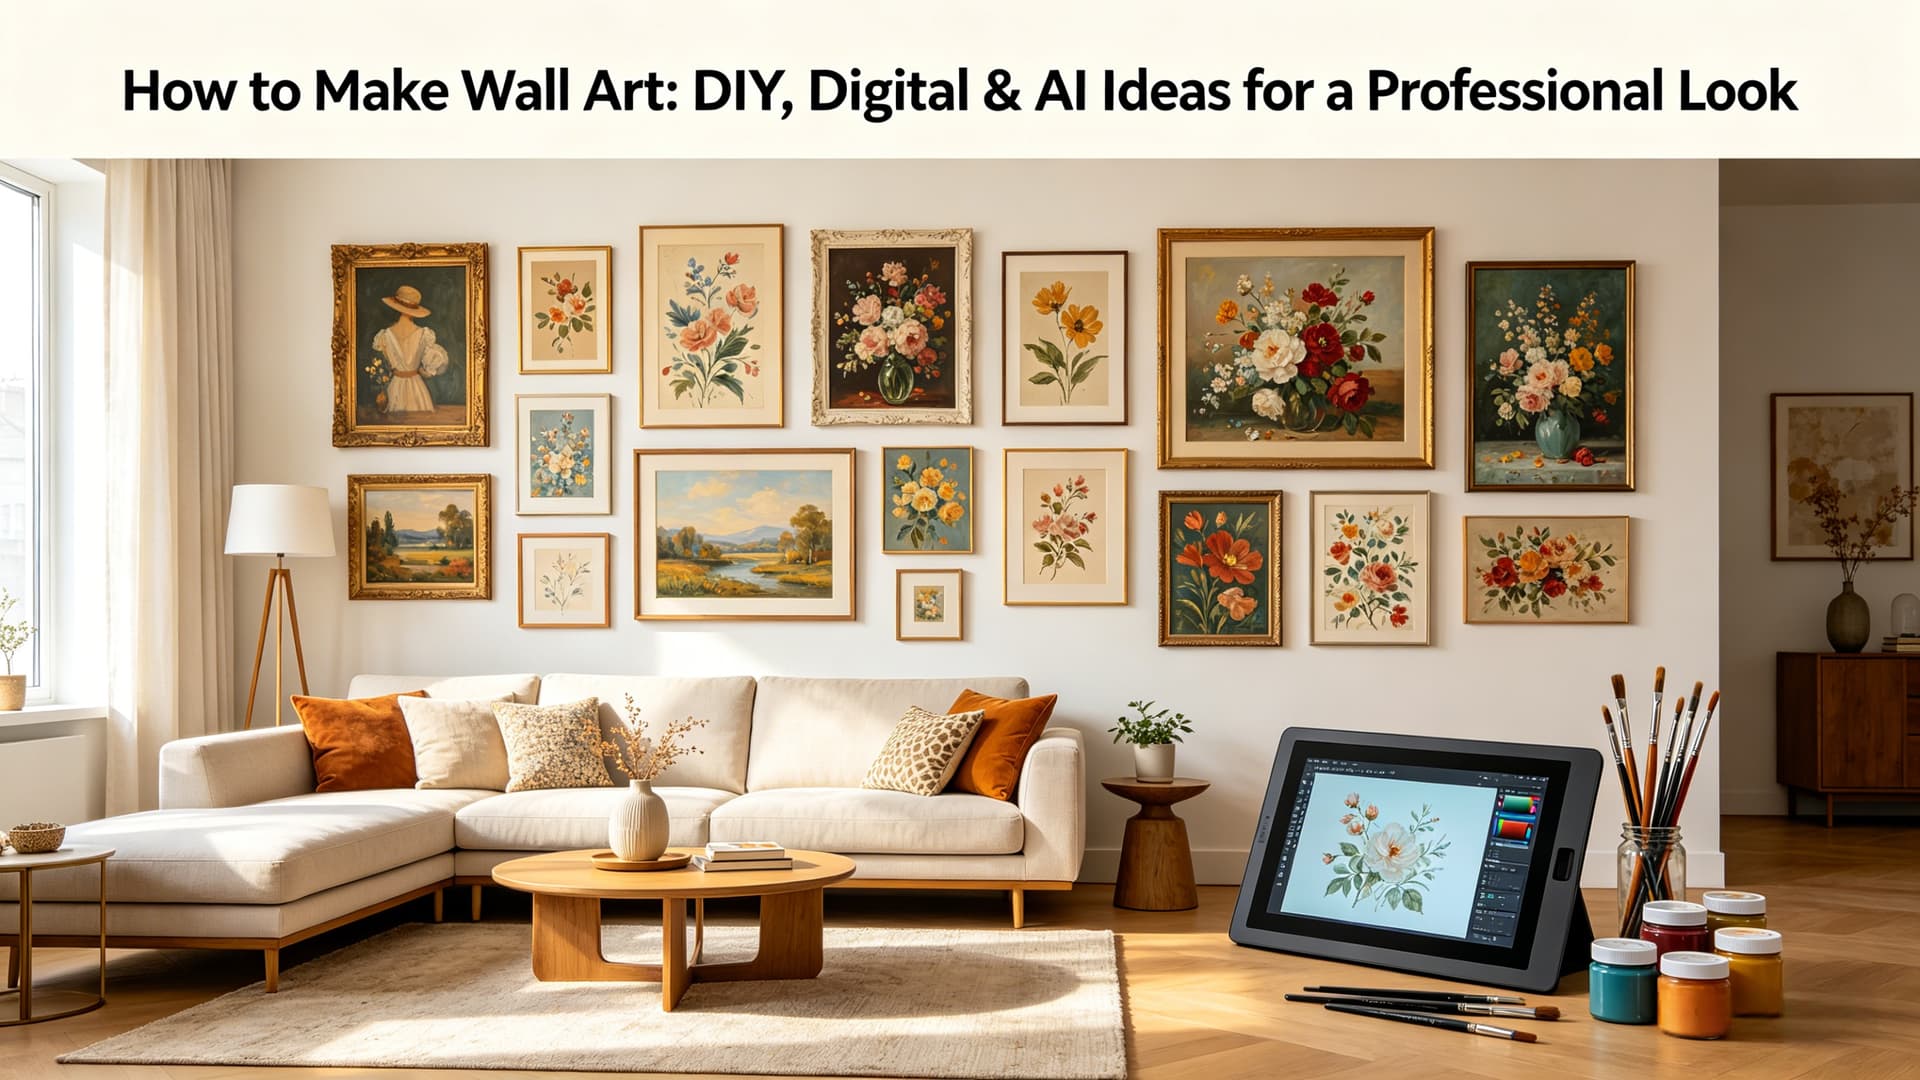
If you’ve spent any time browsing home decor ideas lately, chances are you’ve come across the phrase “How lucky are we.” It’s simple, but it carries a quiet kind of warmth that fits almost any space.
The appeal is obvious—but when you actually try to make your own wall art, things get a bit trickier. What font should you use? What size works best? And most importantly… how will it look on your wall?
The good news is: you can create your own version from scratch—and even preview it before printing.
Why “How Lucky Are We” Wall Art Is So Popular

-
It’s short and meaningful without being overwhelming
-
It works in living rooms, bedrooms, and even entryways
-
It pairs well with minimalist, neutral, and modern styles
Unlike overly decorative prints, this kind of wall art feels personal. It doesn’t try too hard—it just quietly adds emotion to a space.
What You Need to Make Your Own Wall Art
Before getting started, you don’t actually need much:
-
A digital design of the quote
-
Paper or canvas (for printing)
-
A frame that fits your style
-
Optional: hooks or nails for hanging
Traditionally, you would design something, print it, and hope it looks right once it’s on the wall. But that “hope” is where most people run into problems.
How to Make “How Lucky Are We” Wall Art Step by Step
Step 1: Create Your Wall Art Design
Start with the quote itself and decide how you want it to look.
Think about:
-
Font style (serif, sans-serif, handwritten)
-
Layout (centered, stacked, spaced out)
-
Overall mood (minimal, soft, bold)
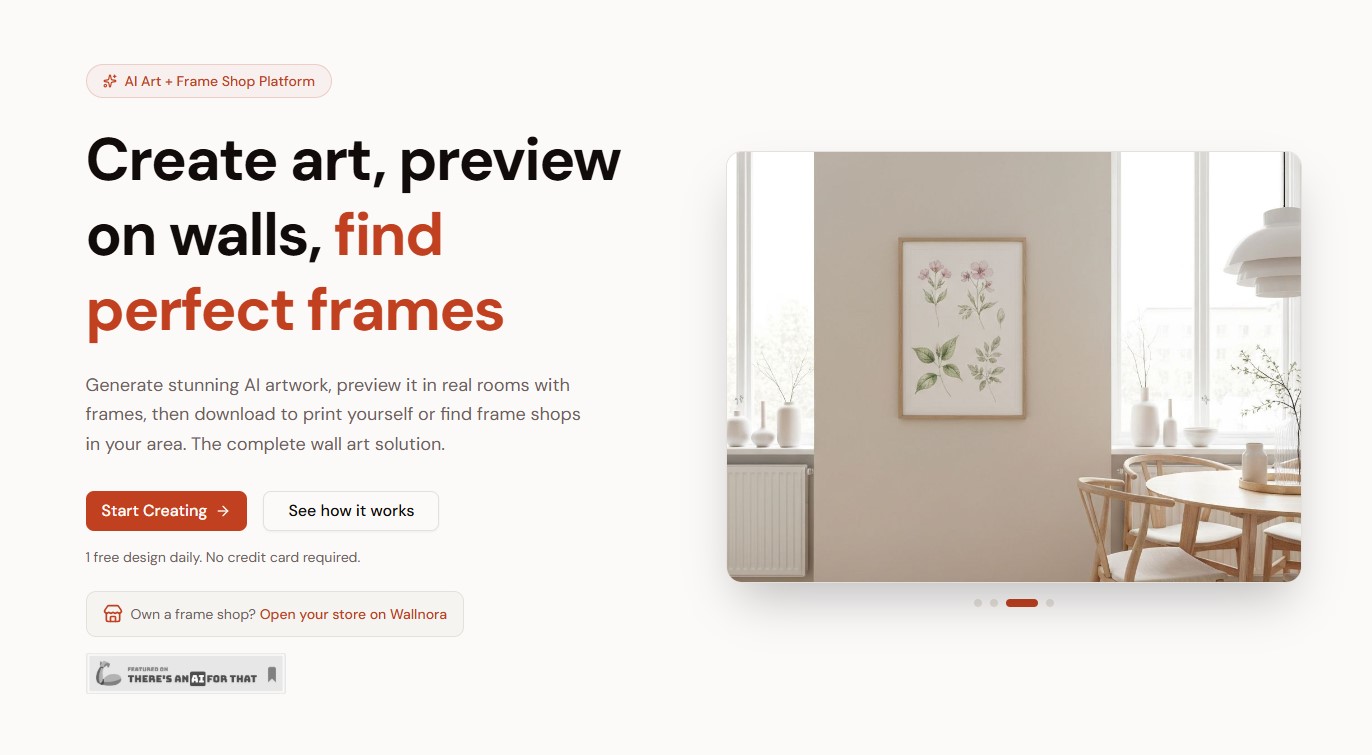
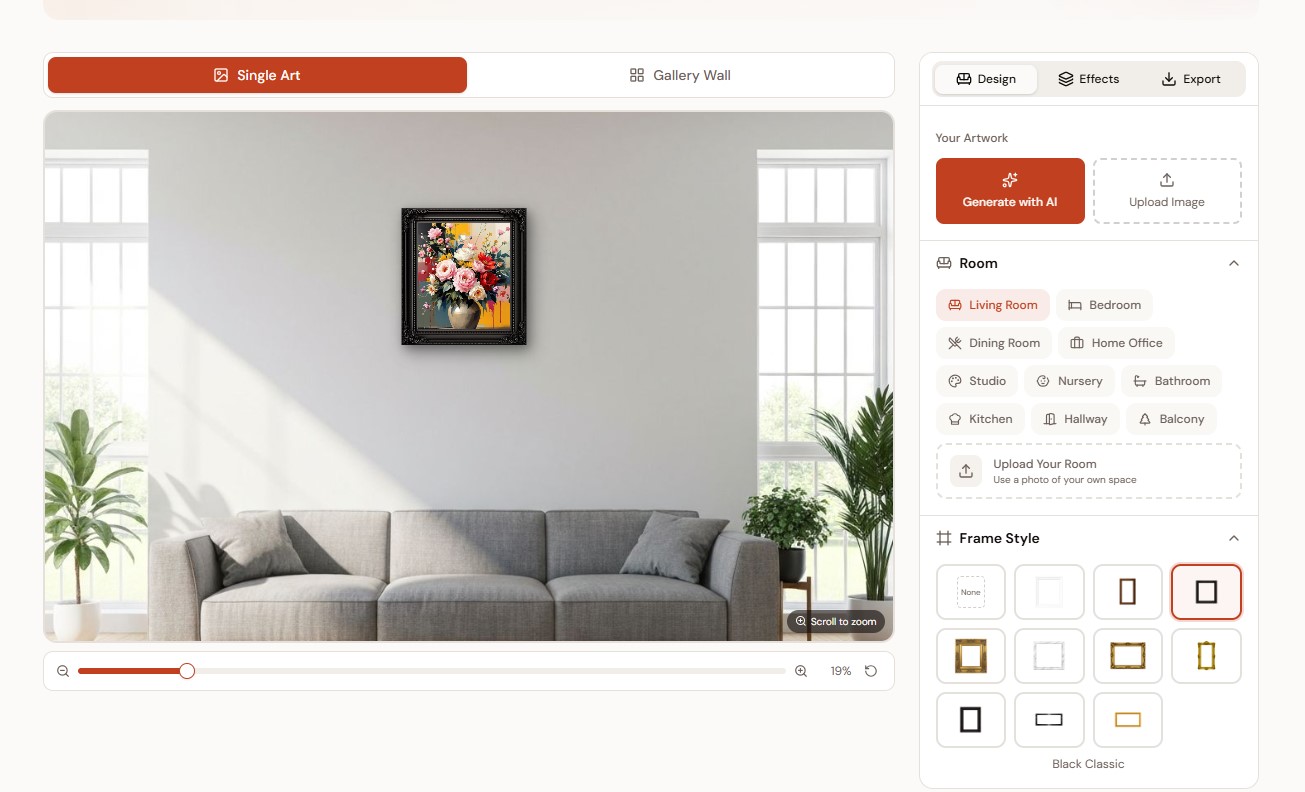
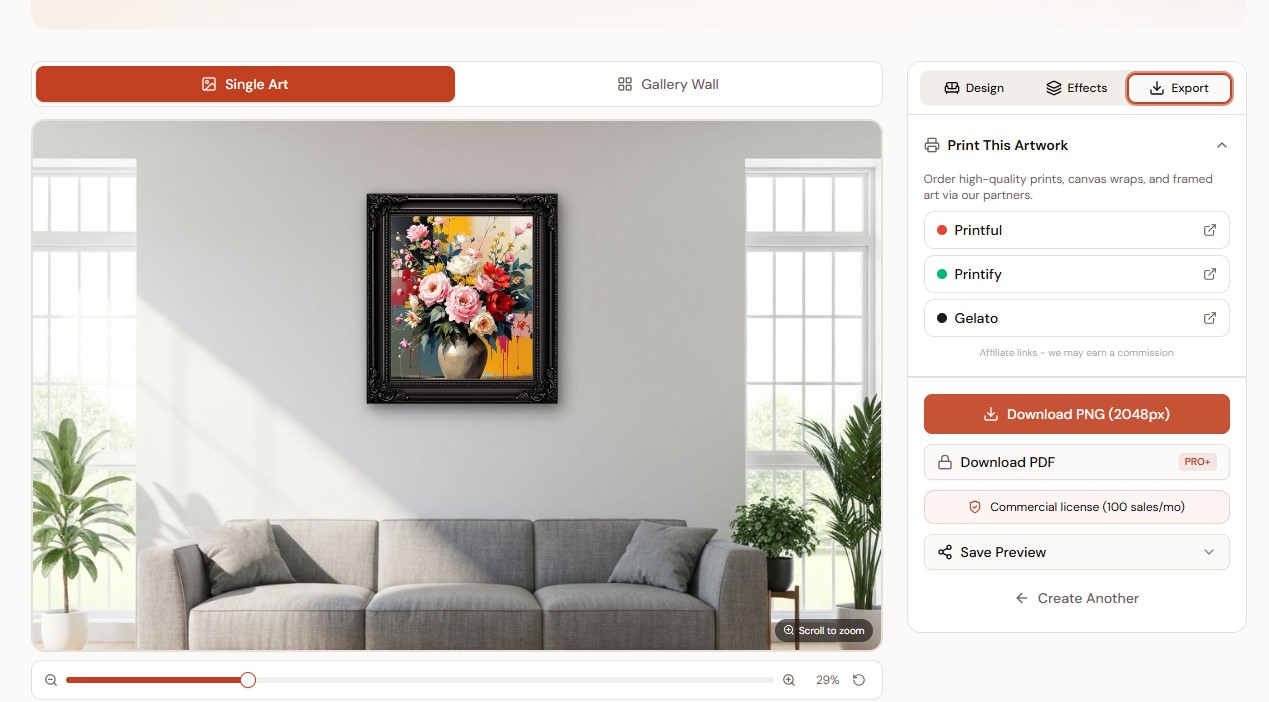
Step 2: Preview Your Wall Art on a Real Wall
This is the step most people skip—and it’s usually where mistakes happen.
Instead of guessing how your design will look after printing, you can preview it in a realistic room setting. Try different wall backgrounds, adjust the size, and even test various frame styles.
-
Is the size too small?
-
Does the style match your space?
-
Would a different frame look better?
Being able to visualize everything before printing can save both time and money.
Step 3: Download and Print Your Artwork
Once you're happy with the design and how it looks on the wall, export a high-resolution version.
-
Print it at home (for smaller sizes)
-
Use a local print shop for better quality
-
Choose matte or textured paper for a more premium feel
A good print makes a huge difference, especially for simple typography designs like this.
Step 4: Frame and Hang Your Wall Art
Choose a frame that complements your design:
-
Black frames → modern, clean look
-
Wooden frames → warm, natural feel
-
White frames → light and minimal
When hanging:
-
Keep it at eye level
-
Center it above furniture (like a sofa or bed)
-
Leave enough breathing space around it
Small adjustments here can completely change the final result.
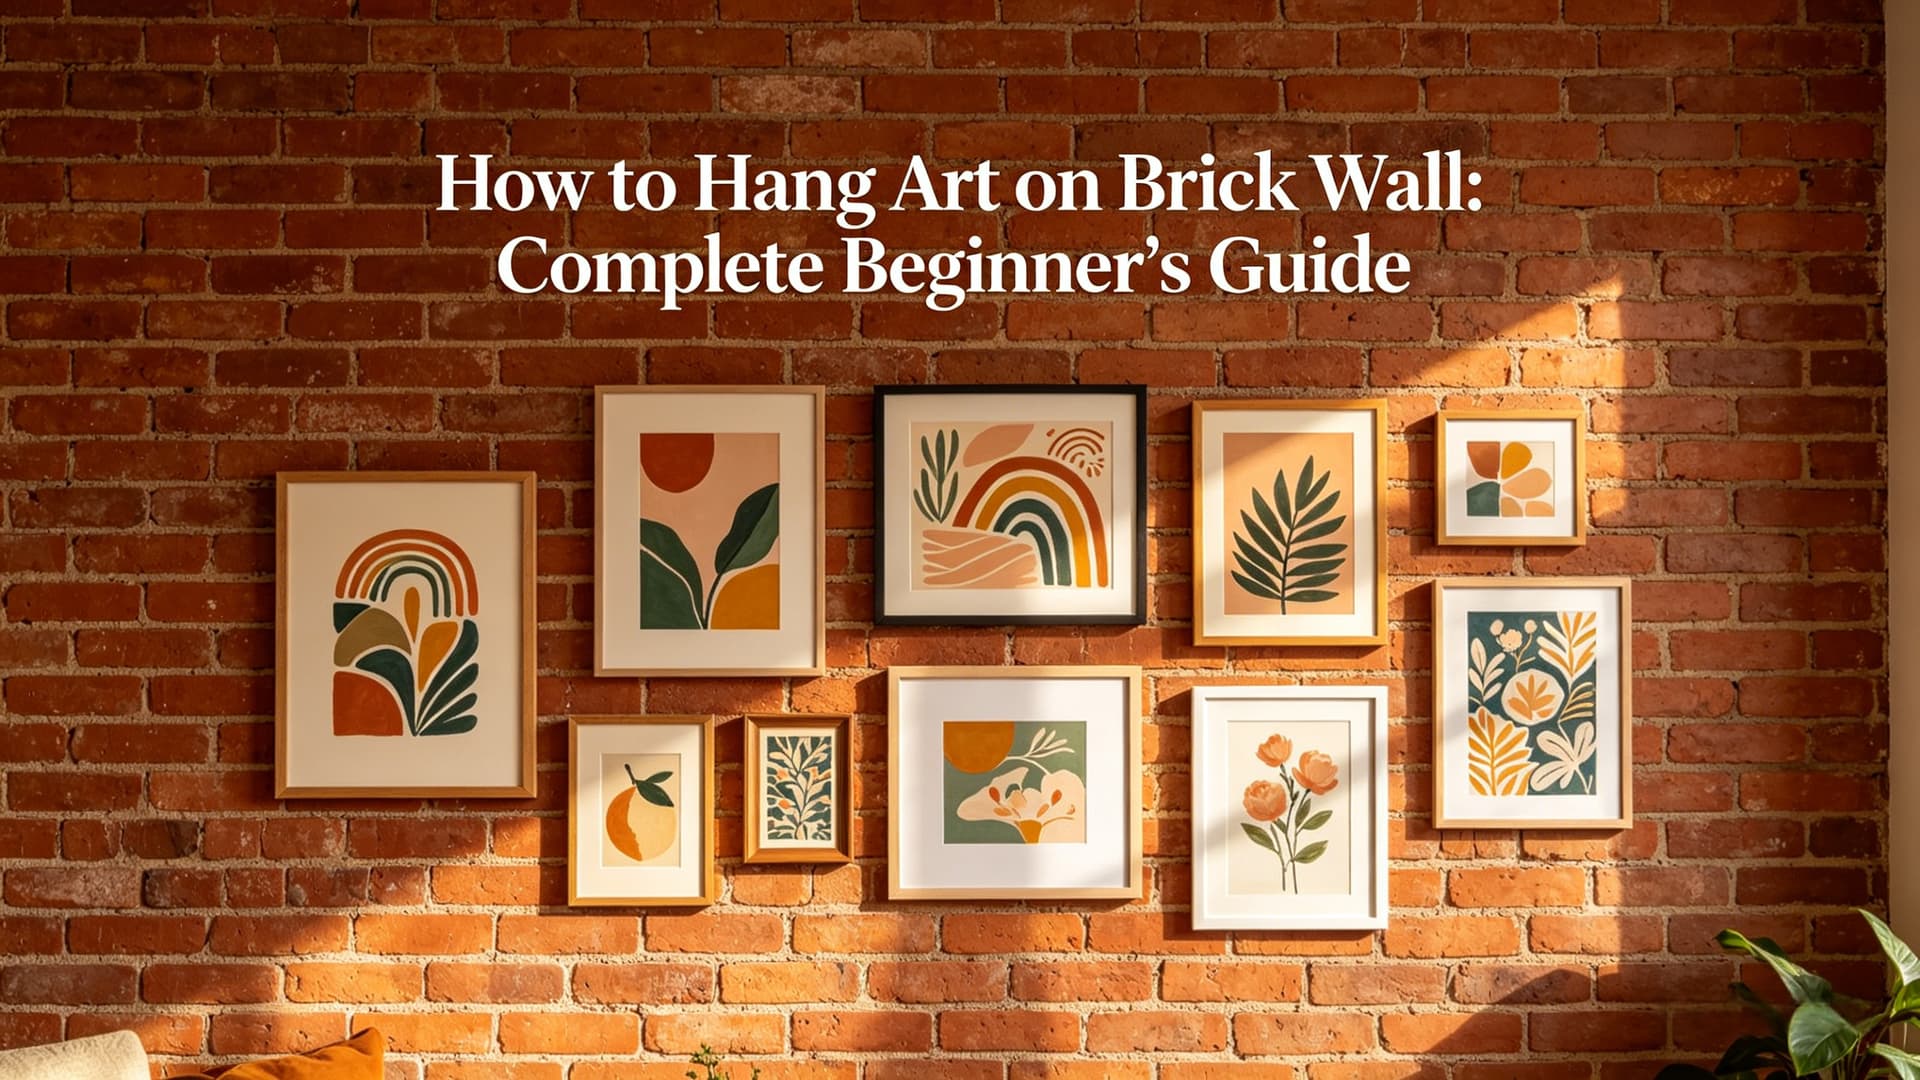
>> Read More: How to Hang Wall Art Without Nails
Style Ideas for “How Lucky Are We” Wall Art
If you’re not sure which direction to go, here are a few styles that work especially well:
-
Minimalist black & white – clean, timeless, and easy to match
-
Soft neutral tones – beige, cream, and warm gray for a cozy feel
-
Japanese-inspired style – calm, balanced, and slightly artistic
-
Gallery wall setup – combine the quote with other prints
Exploring different styles can help you find something that truly fits your space rather than forcing a trend.
Common Mistakes to Avoid When Making Wall Art
A few small mistakes can make a big difference:
-
Choosing fonts that are hard to read
-
Printing at the wrong size
-
Not checking alignment or spacing
-
Skipping the preview step entirely
Most of these issues only become obvious after printing—which is why planning ahead matters.
Why Previewing Wall Art Before Printing Matters
Many people go straight from design to print, only to realize something feels “off” once it’s on the wall.
The size might be wrong. The frame might not match. The overall look might feel out of place.
Previewing your wall art beforehand helps you avoid all of that. It gives you confidence in your design and ensures that what you imagined is actually what you get.
Final Thoughts: Make It Personal, Not Perfect
At the end of the day, wall art like this isn’t about perfection—it’s about meaning.
“How lucky are we” works because it feels real. And when you create it yourself, it becomes even more personal.
Take your time with the design, see how it fits your space, and make small adjustments until it feels right. The process is simple—but the result can completely change how a room feels.